Diesel Specialists | Expert Engine Solutions for Diesel, Gasoline & More – DIY maintenance for diesel engine belts hoses at home can cut repair costs and prevent sudden breakdowns when drivers understand the right tools, safety steps, and inspection methods.
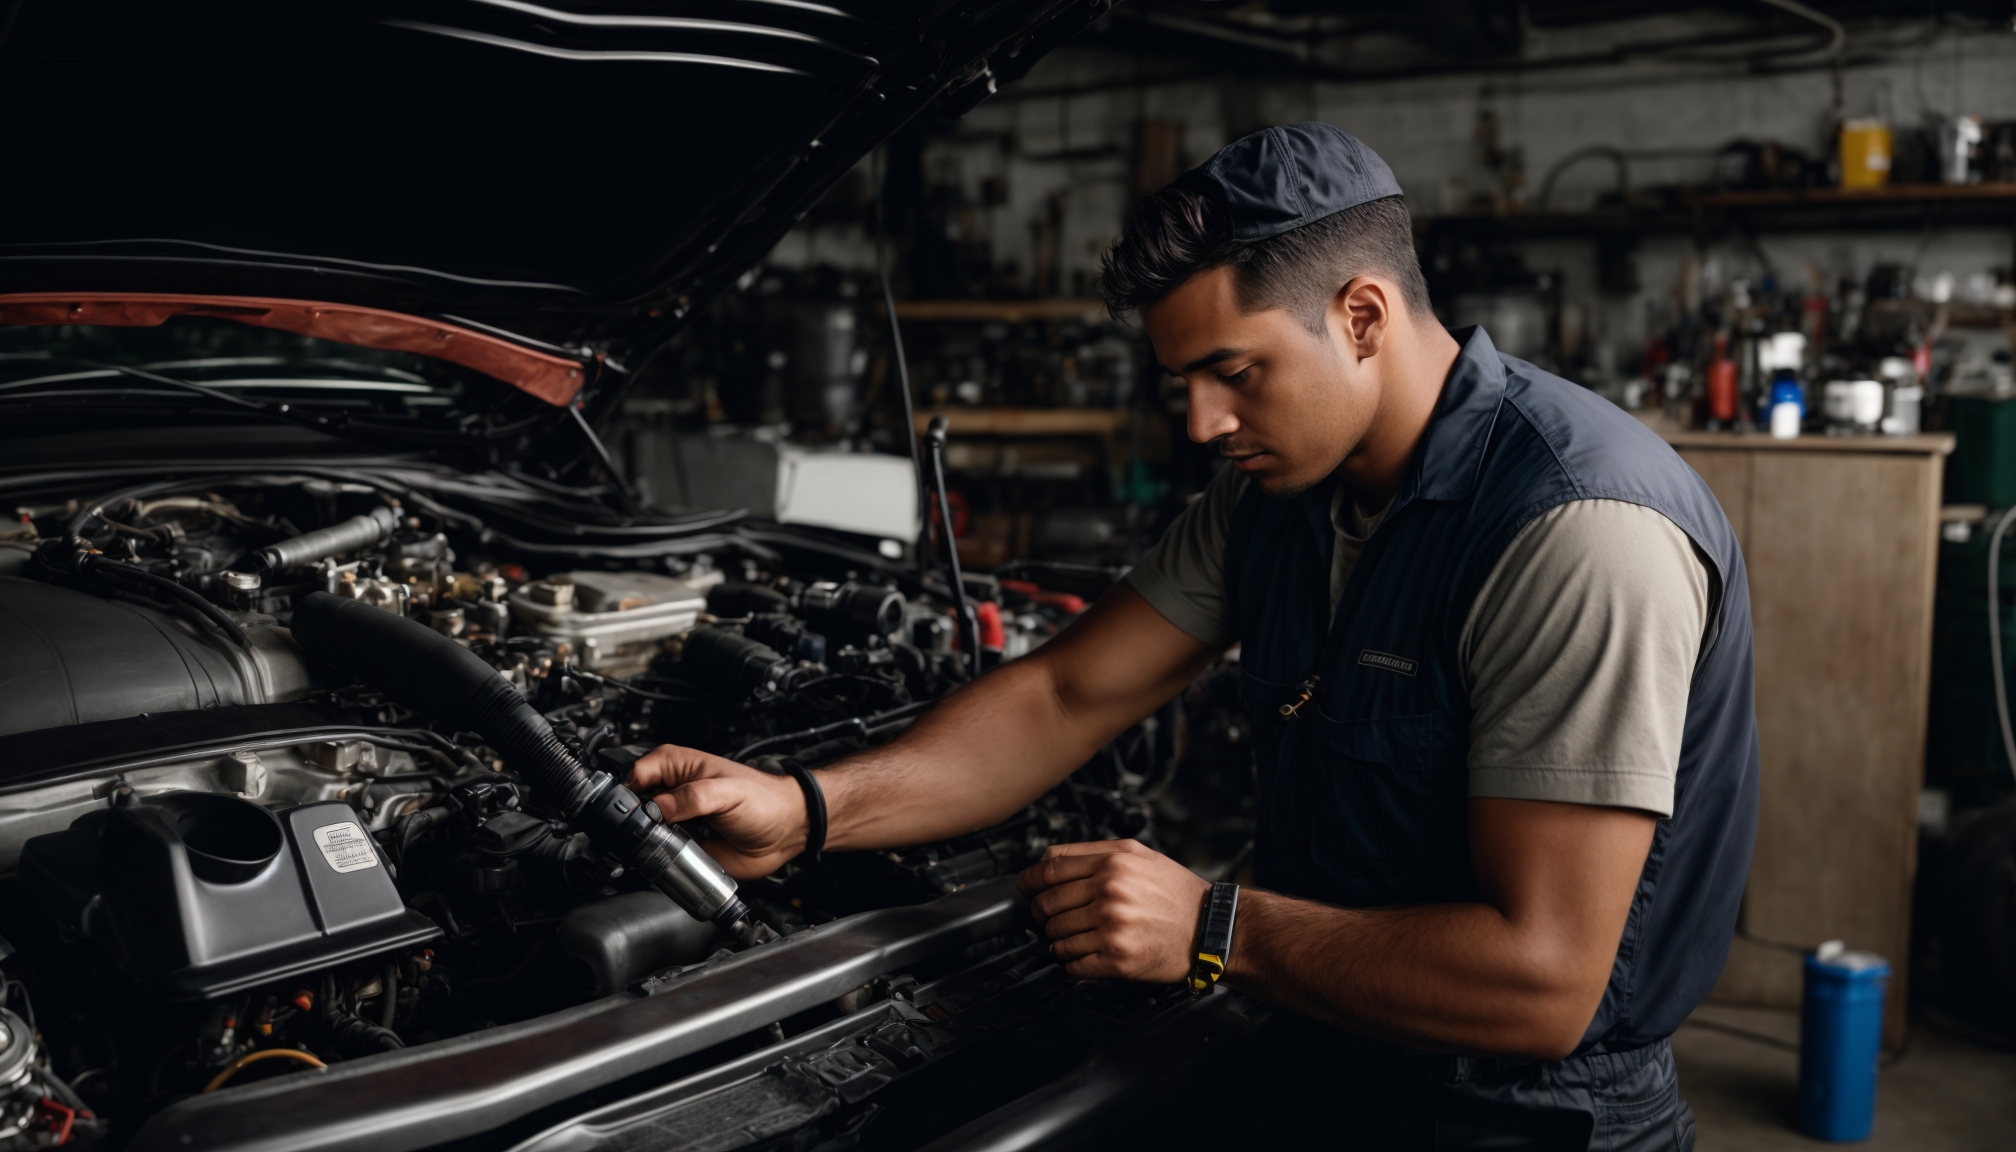
On a diesel engine, belts drive key components such as the alternator, water pump, and power steering pump. Hoses carry coolant, fuel, and sometimes air to keep the engine operating at safe temperatures and pressures. When these parts age, they harden, crack, or stretch and can fail without warning.
Rubber and composite materials degrade under heat, vibration, and exposure to oil and fuel. Therefore, replacing belts and hoses at recommended intervals greatly reduces the risk of overheating or sudden loss of power steering. Most manufacturers suggest inspection at every service and replacement roughly every 60,000 to 100,000 kilometers, depending on usage and climate.
Ignoring worn parts can lead to serious engine damage. A failed coolant hose can quickly cause overheating, while a snapped drive belt may stop the alternator and water pump, stranding the vehicle and risking head gasket failure.
Before working on diesel engine belts hoses in a home garage, preparation and safety must come first. Park the vehicle on a flat surface, engage the parking brake, and let the engine cool completely. Hot coolant or metal surfaces can cause severe burns.
Basic tools usually include a socket set, combination wrenches, a screwdriver set, pliers, and a torque wrench. For some serpentine systems, a specific belt tensioner tool or long-handled ratchet may be required. In addition, keep shop towels, a drain pan, and safety gloves ready.
Disconnect the negative battery terminal to prevent accidental starts and reduce the risk of short circuits. Wear eye protection, especially when releasing tensioners or working with pressurized coolant hoses. Safety habits protect both you and the vehicle.
Most modern diesel vehicles use one long serpentine belt, though some still have additional accessory belts. Start by locating the belt routing diagram, often printed on a sticker under the hood or in the owner’s manual. If none exists, take a clear photo or draw a diagram before removal.
Inspect the belt surface for cracks, missing ribs, frayed edges, or glazing. A glossy, hardened surface indicates slippage and overheating. In addition, check for rubber dust around pulleys, a sign of misalignment or advanced wear.
Press on the belt at the midpoint between pulleys. Excessive deflection may suggest a weak tensioner or stretched belt. Squealing noises at startup or during acceleration often point to a worn belt or failing tensioner rather than just poor adjustment.
To remove the belt, locate the automatic tensioner or manual adjustment bolt. For automatic systems, use the proper tool or ratchet to rotate the tensioner and relieve tension, then slide the belt off the pulleys. For manually adjusted belts, loosen the mounting bolts on the accessory and move it inward to free the belt.
Once removed, compare the old belt with the new one for length and rib count. A mismatch can cause noise, poor charging, or rapid failure. Route the new belt according to the diagram, leaving the tensioner pulley for last. Hold the belt in the grooves of each pulley while releasing the tensioner slowly and under control.
After installation, visually confirm that the belt sits properly on every pulley and does not ride over edges. Start the engine briefly and observe the belt. It should run smoothly with no wobbling, chirping, or visible vibration.
Read More: Detailed serpentine belt replacement guide for home mechanics
Hose maintenance is as crucial as belts for the reliability of diesel engine belts hoses systems. Start with the coolant hoses running from the radiator to the engine and heater core. With the engine cool, squeeze each hose gently. A good hose feels firm yet flexible, not spongy or rock hard.
Look for bulges, cracks, oil contamination, or crusty deposits near clamps. Oil on the hose surface can soften rubber and accelerate failure. Check clamp areas closely because leaks often start where the hose meets a fitting.
To replace a coolant hose, place a drain pan beneath the lowest point of the cooling system and open the drain or loosen the lower hose to release coolant. Use pliers or a screwdriver to remove the clamps from the target hose, then twist lightly to break the seal before pulling it off. Slide the new hose into place, ensuring it fully covers each fitting, and tighten clamps evenly without over-tightening.
Fuel hoses on diesel engines require extra care due to the flammability of diesel and the high pressure in common-rail systems. Many high-pressure lines should only be serviced by professionals. At home, focus on low-pressure rubber fuel hoses, checking for cracks, leaks, or damp areas. Replace them with diesel-rated hose and proper clamps.
Home mechanics often make a few predictable errors when dealing with diesel engine belts hoses. One of the most frequent is installing a belt with incorrect routing, which can reverse water pump rotation or cause poor alternator performance. Always double-check routing before starting the engine.
Another mistake is reusing old, weak hose clamps. Even if a new hose is installed, worn clamps can leak under pressure. In addition, some people over-tighten clamps, cutting into the rubber and reducing hose life.
Neglecting to bleed air from the cooling system after replacing hoses can also lead to overheating. Many diesel engines have bleed points or specific procedures to remove trapped air. Consult the service manual and follow the recommended steps to restore proper coolant circulation.
Before driving, perform a final inspection of all diesel engine belts hoses you worked on. Confirm that every clamp is tight, every connector is seated, and no tools remain in the engine bay. Wipe away spilled fluids to make future leak detection easier.
Start the engine and let it idle while watching the temperature gauge. Look for drips around hose connections and listen for belt noise. After the engine warms up, shut it off and recheck coolant levels, topping up as needed with the correct mixture.
By learning the basics of replacing diesel engine belts hoses at home, drivers can reduce workshop visits, catch problems early, and extend engine life. With careful preparation and attention to detail, home maintenance becomes a safe, practical way to keep a diesel vehicle running reliably.
Diesel Specialists | Expert Engine Solutions for Diesel, Gasoline & More - Unlocking diesel engine performance starts with selecting the…
Diesel Specialists | Expert Engine Solutions for Diesel, Gasoline & More - Proper maintenance and timely repair are key to…
Diesel Specialists | Expert Engine Solutions for Diesel, Gasoline & More - Heavy equipment work demands physical strength and endurance,…
Diesel Specialists | Expert Engine Solutions for Diesel, Gasoline & More - Managing the complex heavy diesel system diagnostics for…
Diesel Specialists | Expert Engine Solutions for Diesel, Gasoline & More - Diesel engines large demand remains significant in the…
Diesel Specialists | Expert Engine Solutions for Diesel, Gasoline & More - Diesel car engines Asia have gained widespread popularity…